By Etienne "Vexod14" Beschet
After creating a fun animation in akeytsu for my Ocrane16 robot, I wanted to make it shine before adding it to my portfolio. Working on an appealing finished look can add a lot of work and applying materials or colors can get quite complex. Fortunately it can be a lot simpler when you have good software. Today I will detail an efficient workflow using both akeytsu and Marmoset Toolbag to showcase your work with minimum effort.
Credits : This article features work by Etienne "Vexod14" Beschet. Check his artstation page here to see more of his work.
Version : akeytsu 2019.1.1 (some UI elements may have changed)
Today we are going to break down the process of exporting your finished animation into Marmoset Toolbag and make it look good. We won't take a deep dive into how this robot shot was actually animated but if you're curious you can have a look at the speedview video below to see how it was done.
EXPORTING FROM AKEYTSU TO TOOLBAG
After completing my animation, I export it baked as an .FBX (more on exporting options in the
technical documentation) and load it into Marmoset Toolbag to work on surfacing and real-time rendering. I find that Marmoset is quick and well-designed to take care of these tasks. Lately there has been FBX importing issues with Toolbag so I recommend using 3.03 over their latest version or use Maya as a bridge to make sure everything works fine.
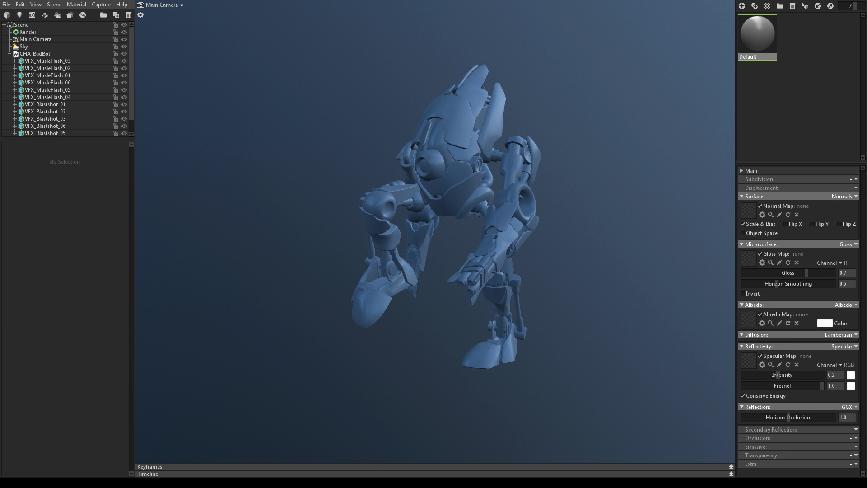
After import, I set up my shaders according to Material IDs I previously assigned to different parts of my character. Shaders and textures for Ocrane16 were made according to a PBR workflow which I won't detail here as its kind of off-topic and there are many other ressources online with great details to dwelve into the subject.
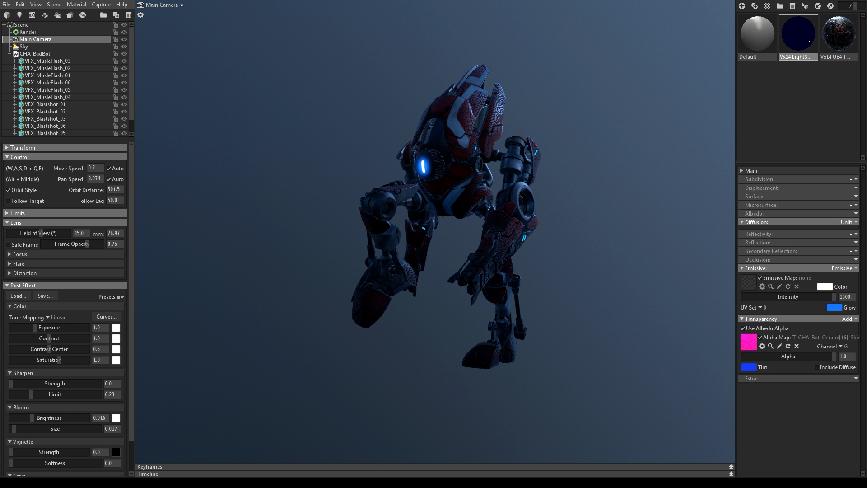
After shading is done, you'll have to choose the right environment lighting to create the right atmosphere to showcase your animation.
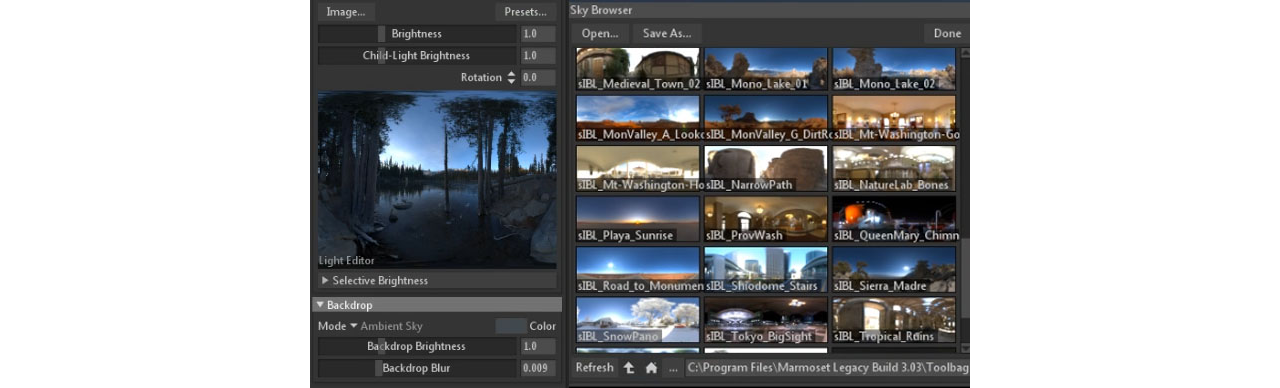
The above screenshot shows you the different presets I use for environment lighting (some included, some added by myself). You'll want to test how your shaders will react to different environments and whether it reacts well with your shader settings before you decide on one.
When doing portfolio renders I always want to keep the focus on the anim take and adapt lighting to the character rather than the other way around.
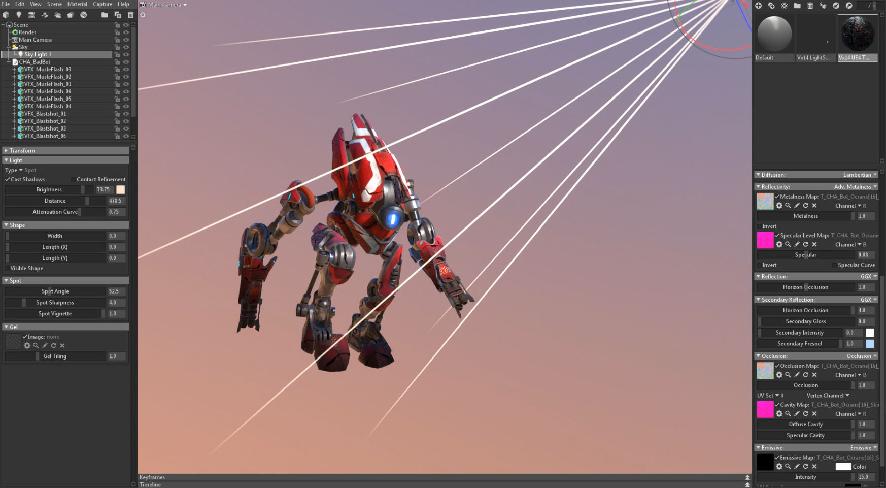
Using the main spotlight in Marmoset, I set up a key light to emphasize specific areas of my character that I want the viewer to pay attention to. This is probably the most important light in the scene and the one I spend the most time to get right. I focus on getting the right colour, shadow and forms for my character so that it defines a general sense for how I want the viewer to look at the model.
After nailing the key light, some rim lights can be added to emphasize the silhouette of the character and make it pop from the background.
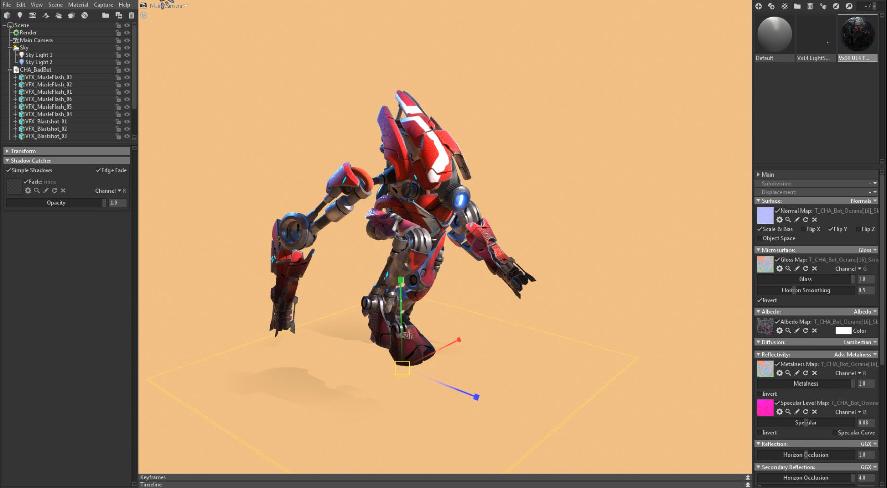
To have a shadow realistically casted on "ground" I set up a ‘Shadow catcher’ and apply a custom colour for the background. Using a custom colour rather than an actual environment for the background makes up for a cleaner look to highlight the animation.
Once I’ve established a solid environment, I start tackling the final effects of the character.
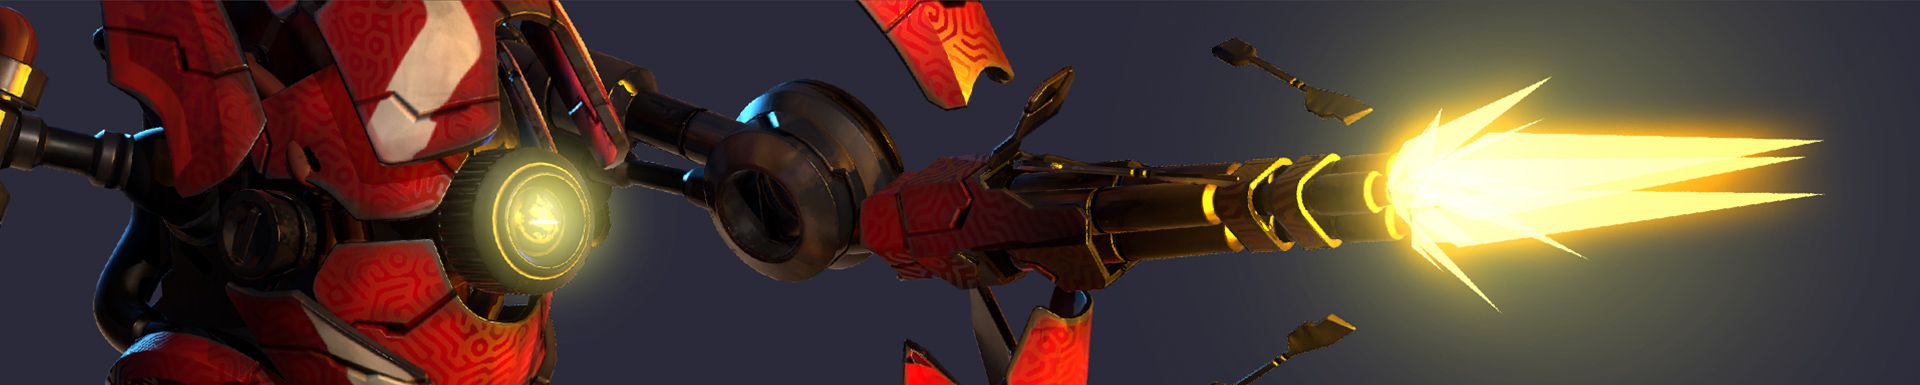
Here I added animated spotlights with high intensity when my Muzzle Flash VFX is on. In this instance these lights add a better sensation depth for the recoil and and make the fire shot more believable.
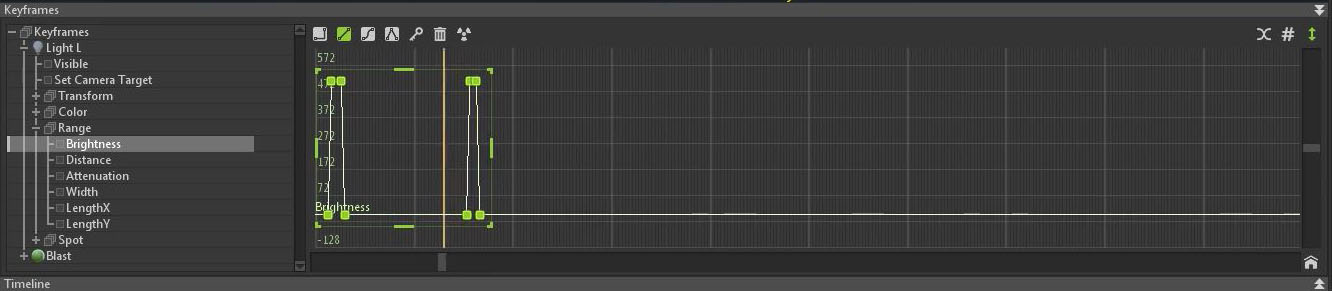
I keyed my lights to synch with the animation nicely. I had to switch to a linear interpolation to prevent negative lights from appearing with the default spline setting.
With a powerful machine, another way to achieve such an effect would be to play with the Emissive Intensity (which can be set manually at a lot more than the "clamped UI value of 10", for instance 500), and key it, so that combined with Voxel Global illumination (VXGI) it will create a flash "as if" you were using real spot lights. The benefit of this method is that you get a lot of things right for free because it is directly linked with the properties of the material that you would have to take into account when creating a light from scratch.
Tips : If you are keen on creating bespoke spotlights, make sure to create them outside the mesh hierarchy. Toolbag reloads each time the FBX source is modified and you may loss all keys and lights linked to mesh if you update your model which can be a bit frustrating.
In the lens panel feel free to add depth of field if you'd like. It's relatively easy to do when your character does not travel. Here it was hard to achieve it taking the recoil into account here as you can't access the cam target. I ended up turning it off completely.
Now that we’ve got the technical stuff out of the way, let’s go over the theoretical side and my personal process to explain how I got the Muzzle flash FX done.
To achieve this Muzzle Flash and render it in Toolbag, I created a 3D mesh (which remains fairly simple) and imported it in akeytsu, I duplicated that Muzzle Flash mesh as many times as needed for both canons (6 instances in here). Then, I added one joint to every instance of the Muzzle Flash mesh, quickly skinned each of them to their associated joint.
Once this is done, I place these joints into the canon of the robot and create a Custom Reference Pose. This way, each time I'll start a new animation, my muzzle flashes will already be in place. After that all I need to do is to scale up and down my Muzzle Flash joints when the robot shoots a big blast. Once everything is animated, you can adjust the muzzle’s size. Same goes for laser meshes except that these are not parented to the arms of the Ocrane, but to his root, to make them move independently from the arm movement.
Working this way I can go back to akeytsu and adjust the animation and refine poses according to camera frame.
I find it quite handy do apply the ghost tool on Keys and on Frames to get smoother movements over time. After that, I like to stretch my characters (especially robots) when I animate, this helps the viewer to read the movement much better and gives more credibility to the weight, firepower and impulses.
You can display and adjust curves to polish everything while doing final tweaks...
...and refine and adjust poses so that you are happy with the camera shots. In this very shot I took care of the global movement and proceeded to ajust head plates after I was happy with the cam shot. It's always nice to spend a bit of effort into secondary actions like these that make your animation a little more specific to the character. Also, I just love to move robot plates and it's nice to indulge yourself every now and then.
To go back in Toolbag make a new export from akeytsu and replace the previous one. When opening your project in Toolbag, the FBX model should automatically be updated. Duplicate the previous file if you wanna keep them just in case.
Don’t be afraid to keep making adjustments when you feel like something needs more work and tweaking ! In the creation process of this clip I chose to change the muzzle flash and laser colour to a more aggressive one and adjusted firearm motions for the final render.
Motions are artistic but can be very technical and complex to get right on the first attempt. After completing a first pass for the segment where the robot fires, I wasn’t quite sure about its movement and realized in Toolbag’s camera view that the poses weren’t quite matching the overall motion. I ultimately opted for a smoother motion and made sure that everything was going well with the pipeline when exporting.
Once the animation and all the camera previews are looking good, I am going back to akeytsu to adjust details. Here, I wanted to make sure that armor parts moved to enhance the action.
It’s also good to change the ghost mode from “Keys” to “Frames” and increase Prev. as well as the Next ghost’s numbers to get a good overview of the animation flow. I personnaly set these to 5 to be comfortable and keep good preview performances. Depending on your workstation you may be able to go a lot higher.
Back in Toolbag, I chose to key the camera with a simpler translate movement.
Once you’re happy with everything, you might want to adjust your spot and omnidirectional lights and make them follow your character.
It can be a good idea to create a second camera without keys to make sure the keyed camera stays in place. This one is called "Main Camera" in Toolbag by default. This enables you to go around editing the animation without losing any camera work.
Then, use the Marmoset Key frame toolbar to edit your light intensity tangents to make sure that they are clamped at 0. This will avoid the interpolation to be negative.
Once you're satisfied with your final result, Marmoset can be used as a super cool renderer to export a video/image sequence (if you want to adjust them in After Effects for example), or create a realtime viewer of your animation if you use the most recent releases of Marmoset Toolbag (please note that camera motions are not exportable yet in Toolbag).
And that’s pretty much everything about my process. There are lots of different ways to improve your character presentations but combining akeytsu and Marmoset’s Toolbag offers clean and functional animation integration as well as excellent real-time rendering features which you should take advantage of this to push your character the extra mile. Don't forget that each step during the character’s creation process is an opportunity to make choices towards the end vision you have.
Thanks a lot for reading this article, I hope that by sharing my process, you learn new things or have ideas and inspiration for your future projects. Good luck and keep having fun making characters!
We need your help to make akeytsu a better tool.
Write us on forums or our discord channel if you would like us to consider improvements.